Manually update your SharePoint package
Ocassionally, our support team may send you a SharePoint package that is ahead of the official version we have listed on Microsoft App Source. In this article we explain how you can install a new package.
1. Locate your web part (or Viva app)
Open your SharePoint Admin center at https://admin.microsoft.com/sharepoint?page=classicfeatures&modern=true then click on More features → Apps → Manage apps.
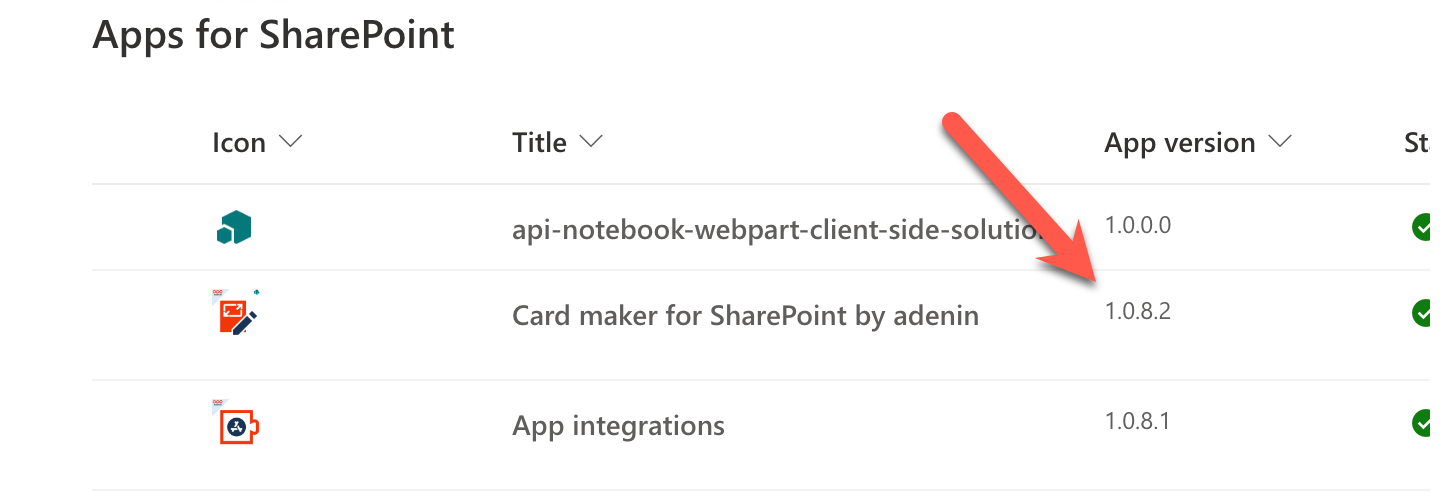
Locate the web part (or Viva app) in question and note the version number. We know the install will have been successful if the version number has advanced.
2. Delete the old web part
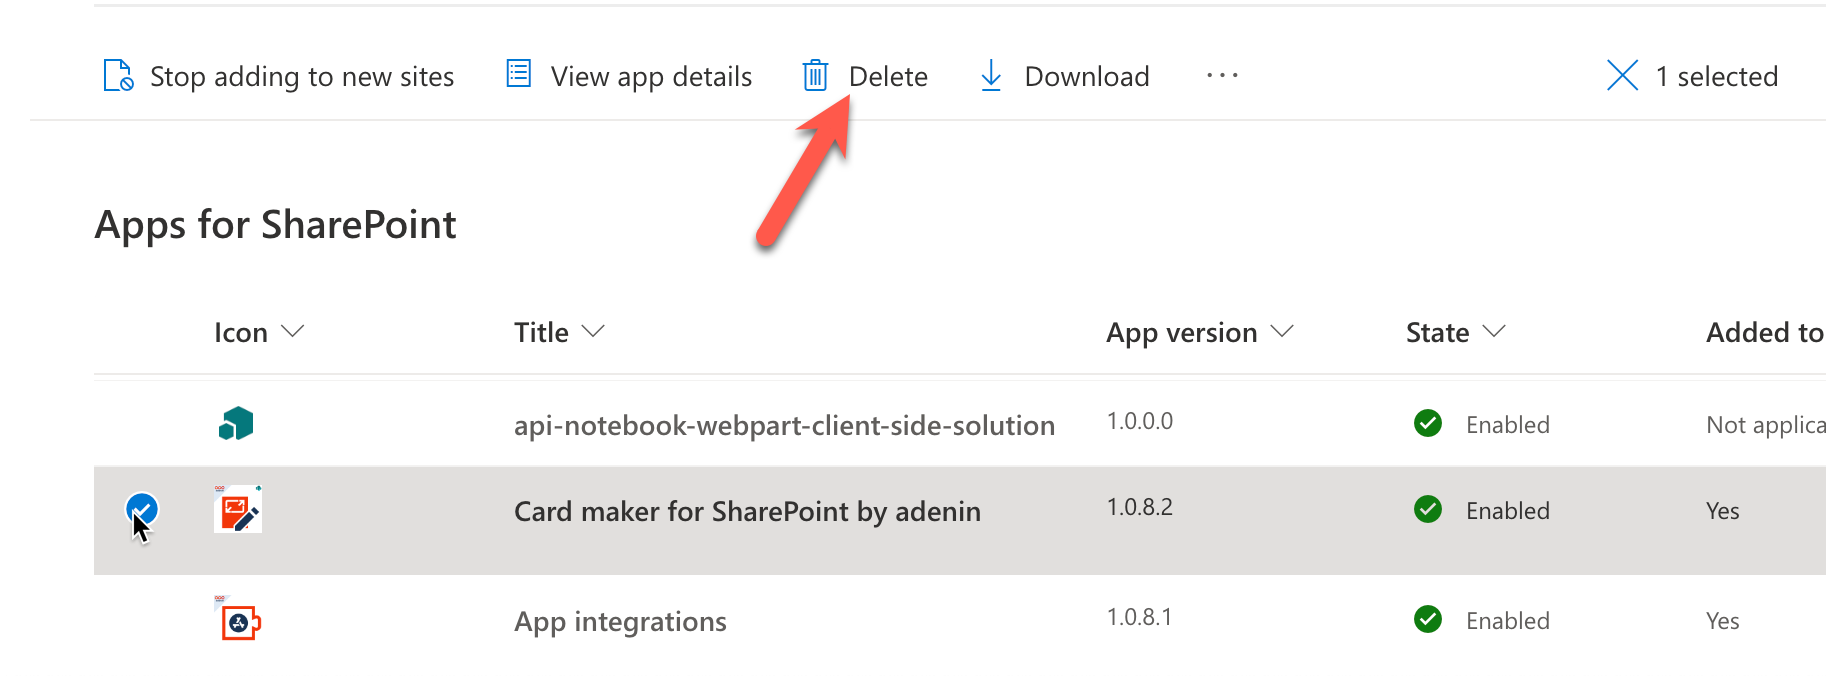
We now need to delete this old version, so click the little checkbox left of the icon and then click on Delete and confirm the deletion prompt.
3. Upload the new version
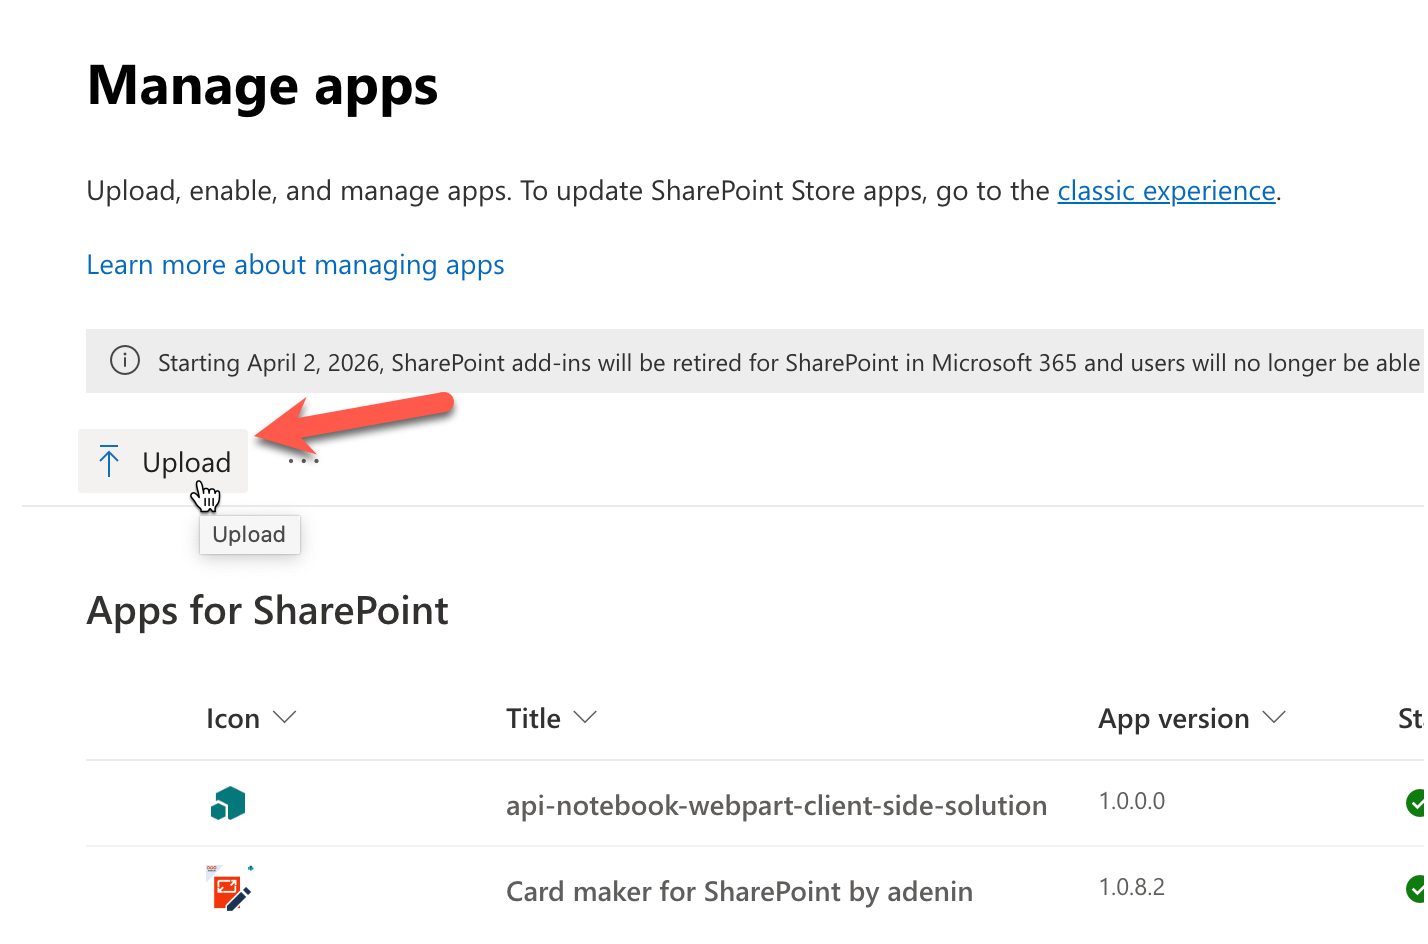
To install the package you were supplied by the adenin support team, click on Upload and then add the file from your local computer.
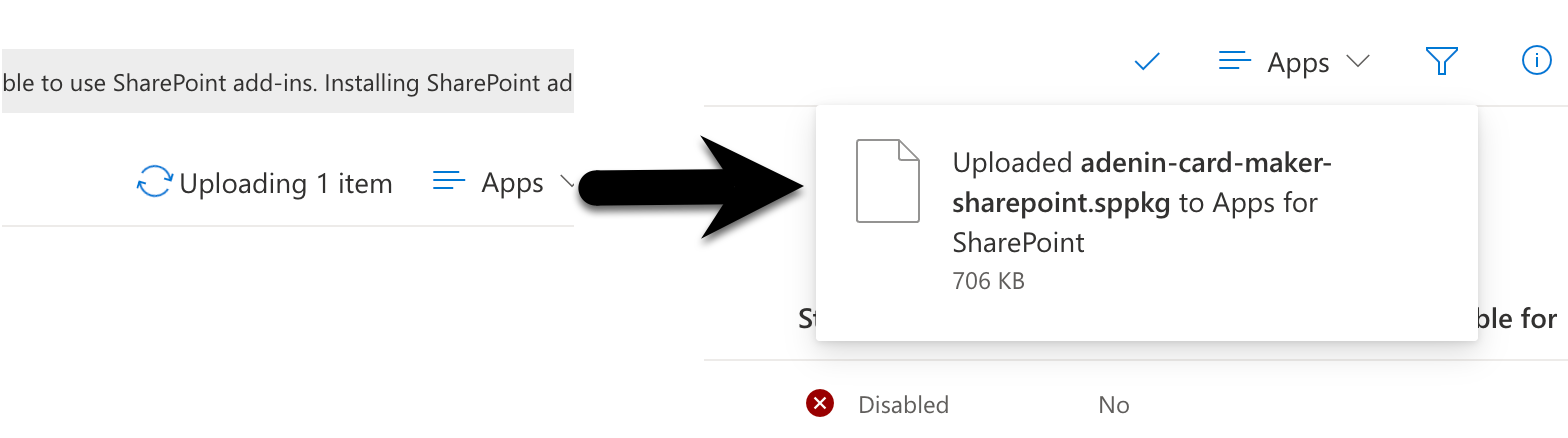
You will see the upload progress and finish when you see the following messages:
4. Enable the new web part
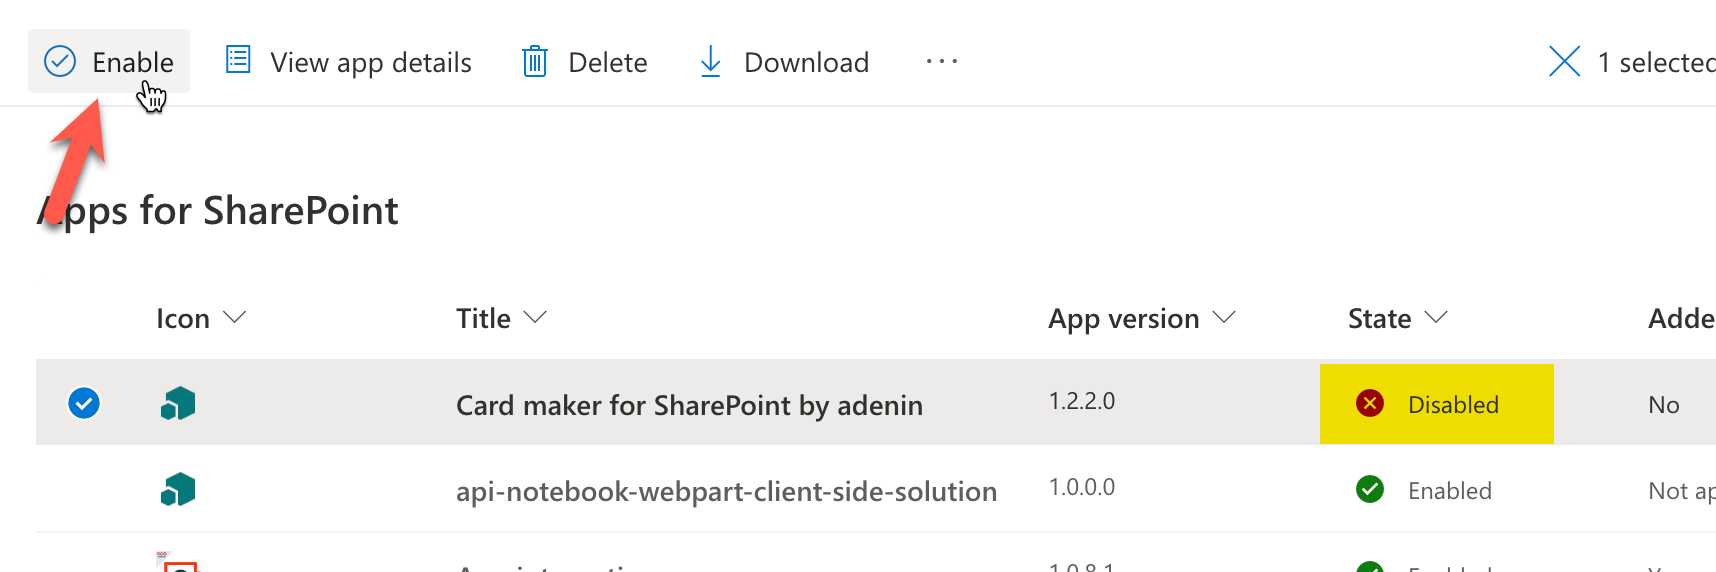
The new web part will now appear in your list with the higher version number. However it is initially Disabled, so please click the selector next to the icon and then click on Enable.
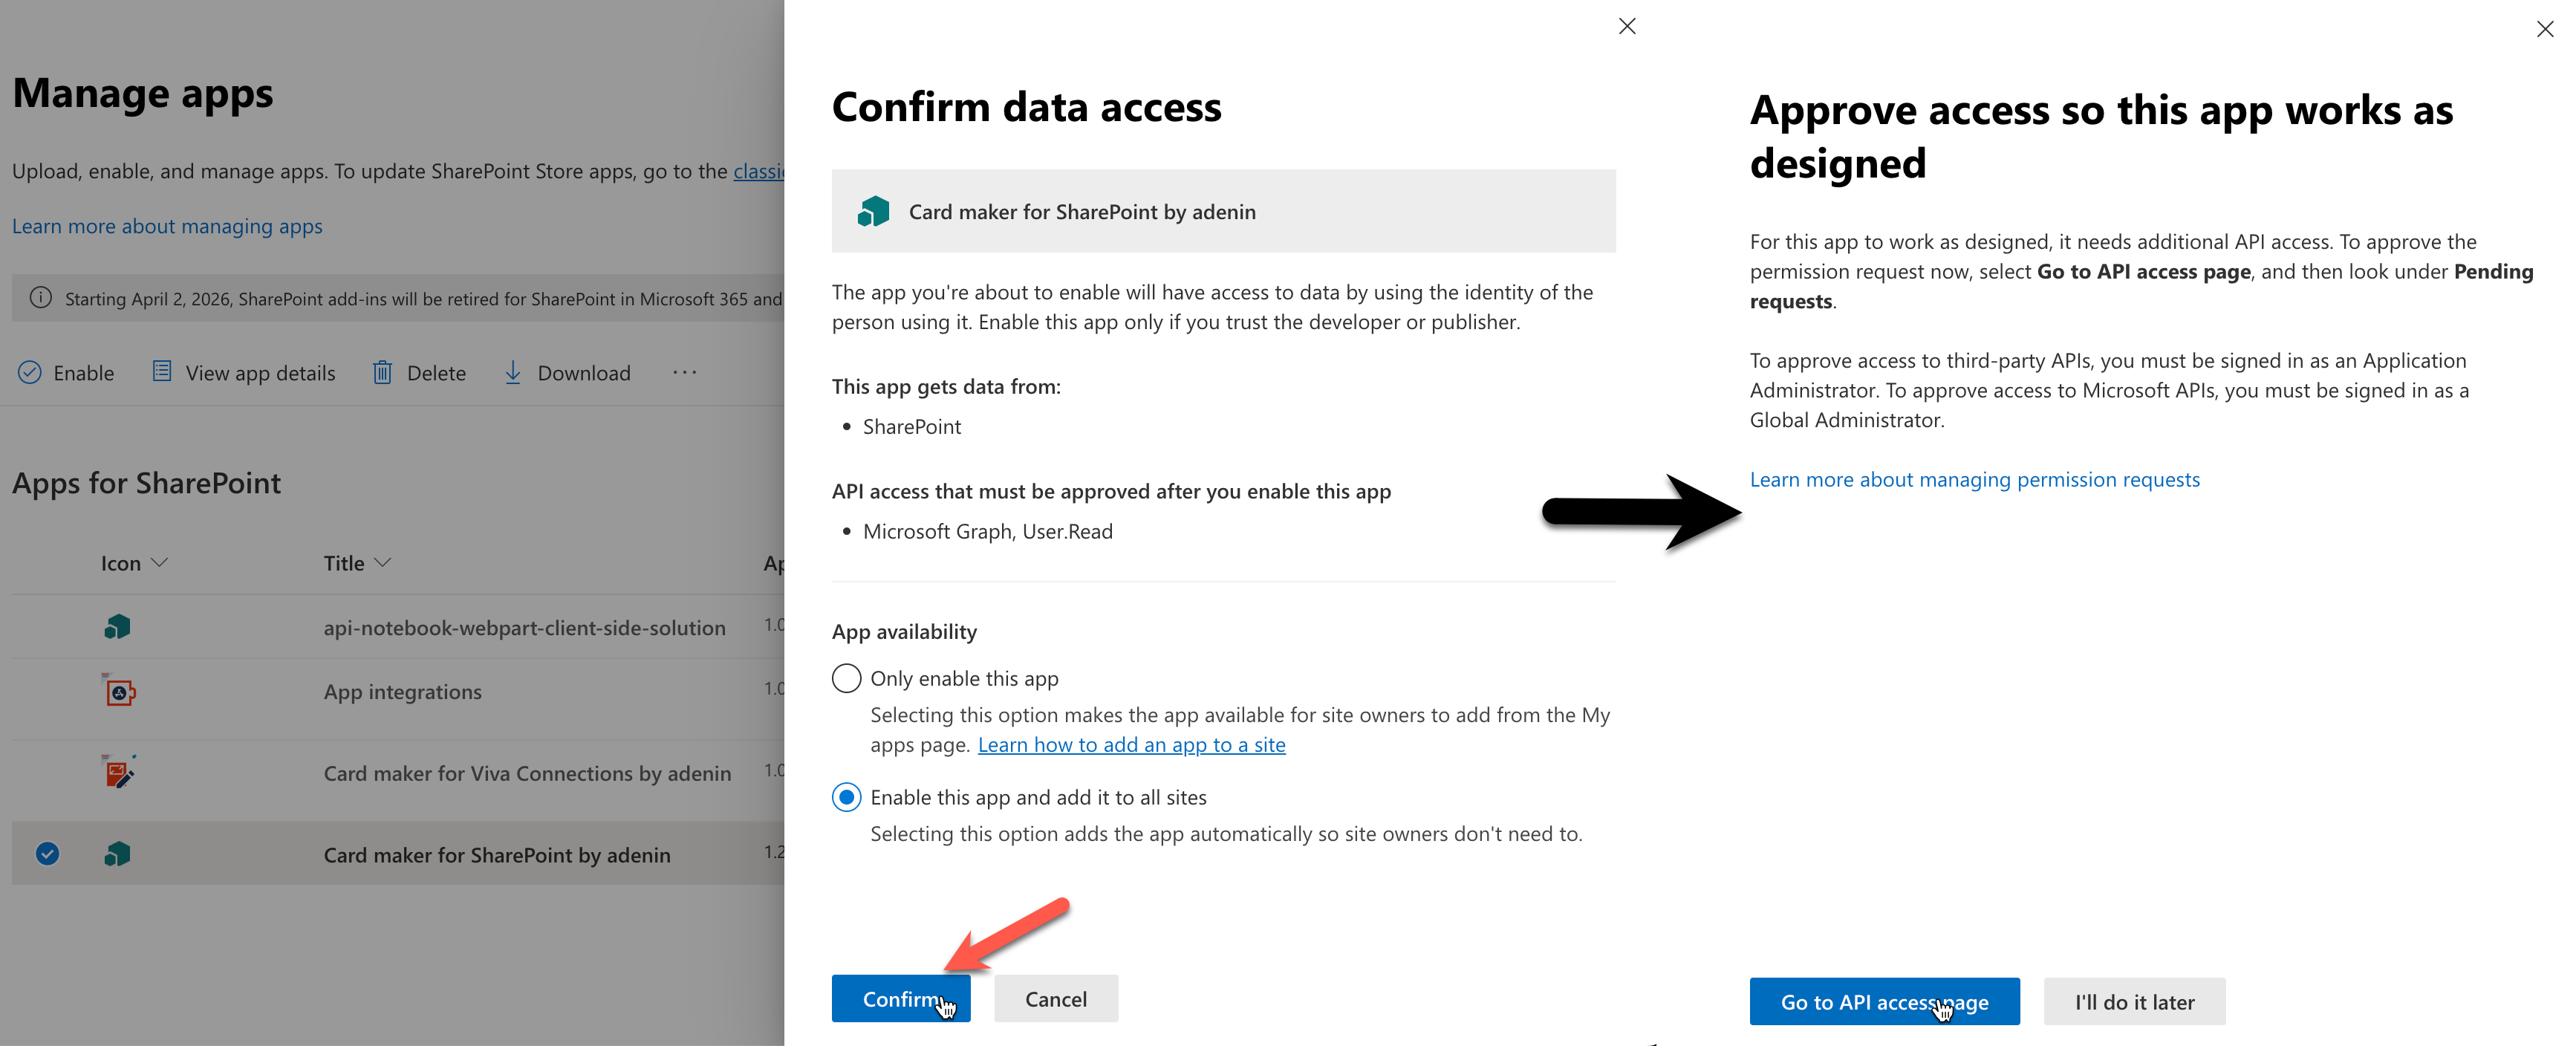
This will then open a sidebar where you can add the web part to all pages by clicking Confirm, followed by another prompt to approve API requests. Most of the time this step should be redundant, but it's probably best to double check you don't see any pending request belonging to the web part.
Now we're done and your web part is updated.
5. After the installation
At a later point you may wish to get your web part package through App Source again, instead of using this manual package. Simply follow this guide to switch back to the current App Source package at any point.